How to Clean and Maintain Outdoor Gas Grills
Table of Contents
- Safety Prep and Tools Before You Clean a Gas Grill
- How to Clean a Gas Grill Inside and Out
- How to Clean Gas Grill Burners and Burner Ports
- How to Clean a Gas Grill With Vinegar
- How Often to Clean a Gas Grill by Component
- Diagnosing Burner Problems and Uneven Heat
- Safe Brush Alternatives and Wire-Bristle Risk
- Protecting Your Grill Between Cooks and Through Winter
- Frequently Asked Questions
Last Updated: November 14, 2026
Safety Prep and Tools Before You Clean a Gas Grill
A clean gas grill cooks better, lights faster, and lasts longer. The best way to learn how to clean and maintain outdoor gas grills is to start with safety, because a dirty grill and a full propane tank are a bad pair. The advice is simple: spend ten minutes on prep and you will save hours later.
Shut Off Gas and Check Connections
Close the valve on the propane tank before you touch anything else. For a natural gas grill, turn the supply valve off at the line. Then check the hose and connections for cracks or loose fittings. A soapy water test works well: brush bubbles on the joints, open the gas for a moment, and watch for growing bubbles (Fire It Up Safely: CPSC Recommends Safety Check Before Grilling This Summer). No bubbles means no leak. If you see bubbles, tighten the fitting or replace the hose before you cook again. The U.S. Consumer Product Safety Commission grill safety guidance covers leak checks and safe cylinder handling in plain terms.
Supplies That Actually Work
Skip the specialty kits. Most of what you need is already in your kitchen.
- Cleaning gloves for grease and degreaser
- Warm soapy water and a few drops of dish soap
- A grill brush or scraper (see the brush warning below)
- A sponge and non-lint cloth
- A degreaser for carbonized residue
- A drip pan or bucket for soaking parts
- A vinegar solution for light mineral buildup
How to Clean a Gas Grill Inside and Out
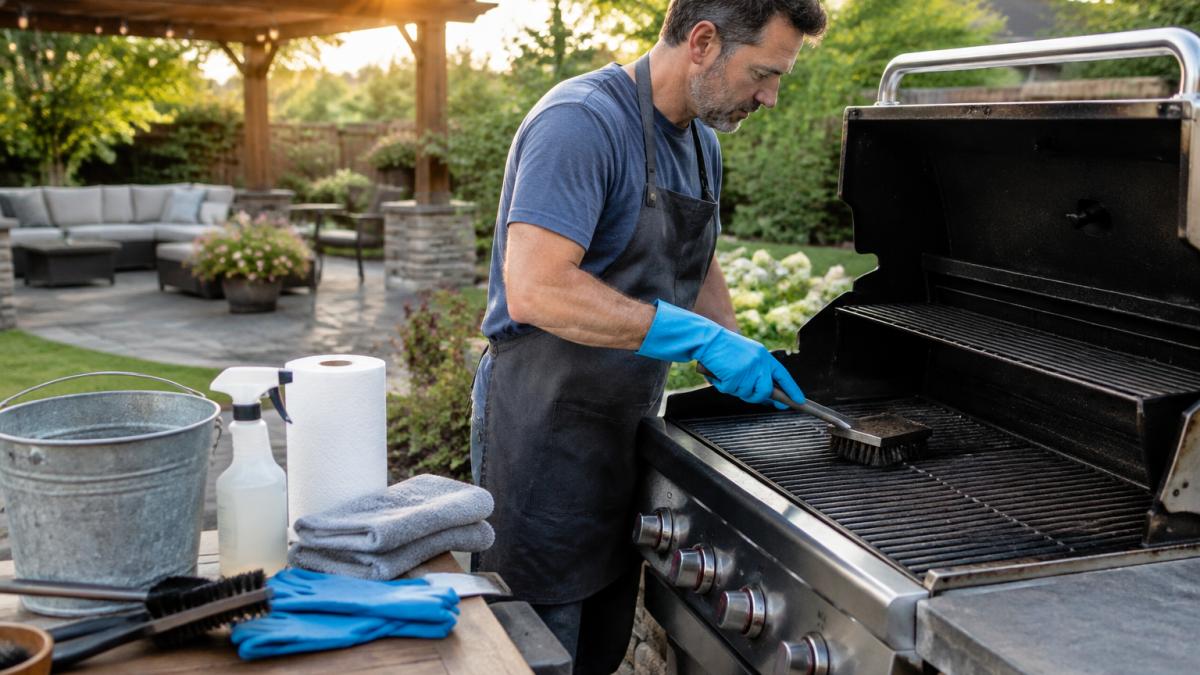
Cleaning a gas grill inside and out means working from the top down: grates first, then heat plates, then burners, then the firebox and grease tray. Do the interior while the grill is still slightly warm, never hot. Warm residue lifts easily; cold grease fights back.
Interior: Firebox, Heat Plates, and Grease Tray
Remove the cooking grates and set them aside. Lift out the heat plates, flame tamers, or flavorizer bars. Scrape loose food debris into a bucket, then scrub the firebox walls with a sponge and warm soapy water. Pull the grease tray and drip pan, pour off the grease, and soak them in hot soapy water. Rinse, dry fully, and reassemble. A dry firebox resists rust far better than a damp one.
Exterior: Stainless Steel and the Grill Lid
Wipe stainless steel with a non-lint cloth and warm soapy water, then dry along the grain. Avoid abrasive pads on brushed finishes. Clean the inside of the grill lid too: carbonized residue there flakes onto food. A plastic scraper handles most of it.
How to Clean Gas Grill Burners and Burner Ports
Burner cleaning is the step most owners rush, and it is the one that most affects how the grill performs. Clogged ports, corrosion, and misaligned burner tubes cause uneven heat, weak flames, and hard starting long before a part actually fails. Work on a cool grill with the gas fully off.
Shut Off and Isolate the Gas First
Close the valve on the propane cylinder, or turn off the natural-gas supply at the line. Disconnect the hose at the cylinder if your manual calls for it. Before you remove anything, do a soapy-water leak check on the hose and fittings: brush bubbles on the joints, open the gas briefly, and watch. Growing bubbles mean a leak, tighten the fitting or replace the hose, and do not proceed until it holds. After reassembly, repeat the leak check before the next cook. If a fitting will not seal or you smell gas at any point, stop and call a qualified gas technician rather than forcing it.
Remove the Burners Correctly
Take out the cooking grates and heat plates first, then lift each burner tube out per your manual. Most burners are held by a cotter pin, screw, or bracket at the rear and slide off the gas orifice at the front. Do not bend the tube or pry at the orifice; a bent tube or damaged orifice changes the gas-air mix and creates a dangerous flame. Label or photograph the layout before removal so rear infrared burners, side burners, and rotisserie burners go back in the right position.
Clear the Ports Without Enlarging Them
Inspect the ports, the small holes along the tube, for grease, spider webs, rust, and insect nests. Clear blockages with a stiff wire, a pin, or a small drill bit turned by hand only. Never drill or ream a port wider; the port size is calibrated to the gas pressure and enlarging it causes an over-rich, yellow, sooting flame. Brush the tube exterior, wipe the orifice area clean, and check the venturi (the open air shutter end) for debris. If the tube is cracked, heavily rusted through, or the ports are corroded shut, cleaning is not enough, replace the burner.
Reassemble and Verify the Flame Pattern
Seat each burner fully over its orifice, refit the retaining hardware, and reinstall heat plates and grates. Open the gas, light the grill, and watch the flame for a full minute.
Watch out: A burner tube that is not fully seated on its orifice can leak gas inside the firebox and cause a flash fire on light-up, always confirm the seat and do the soapy-water check before cooking.
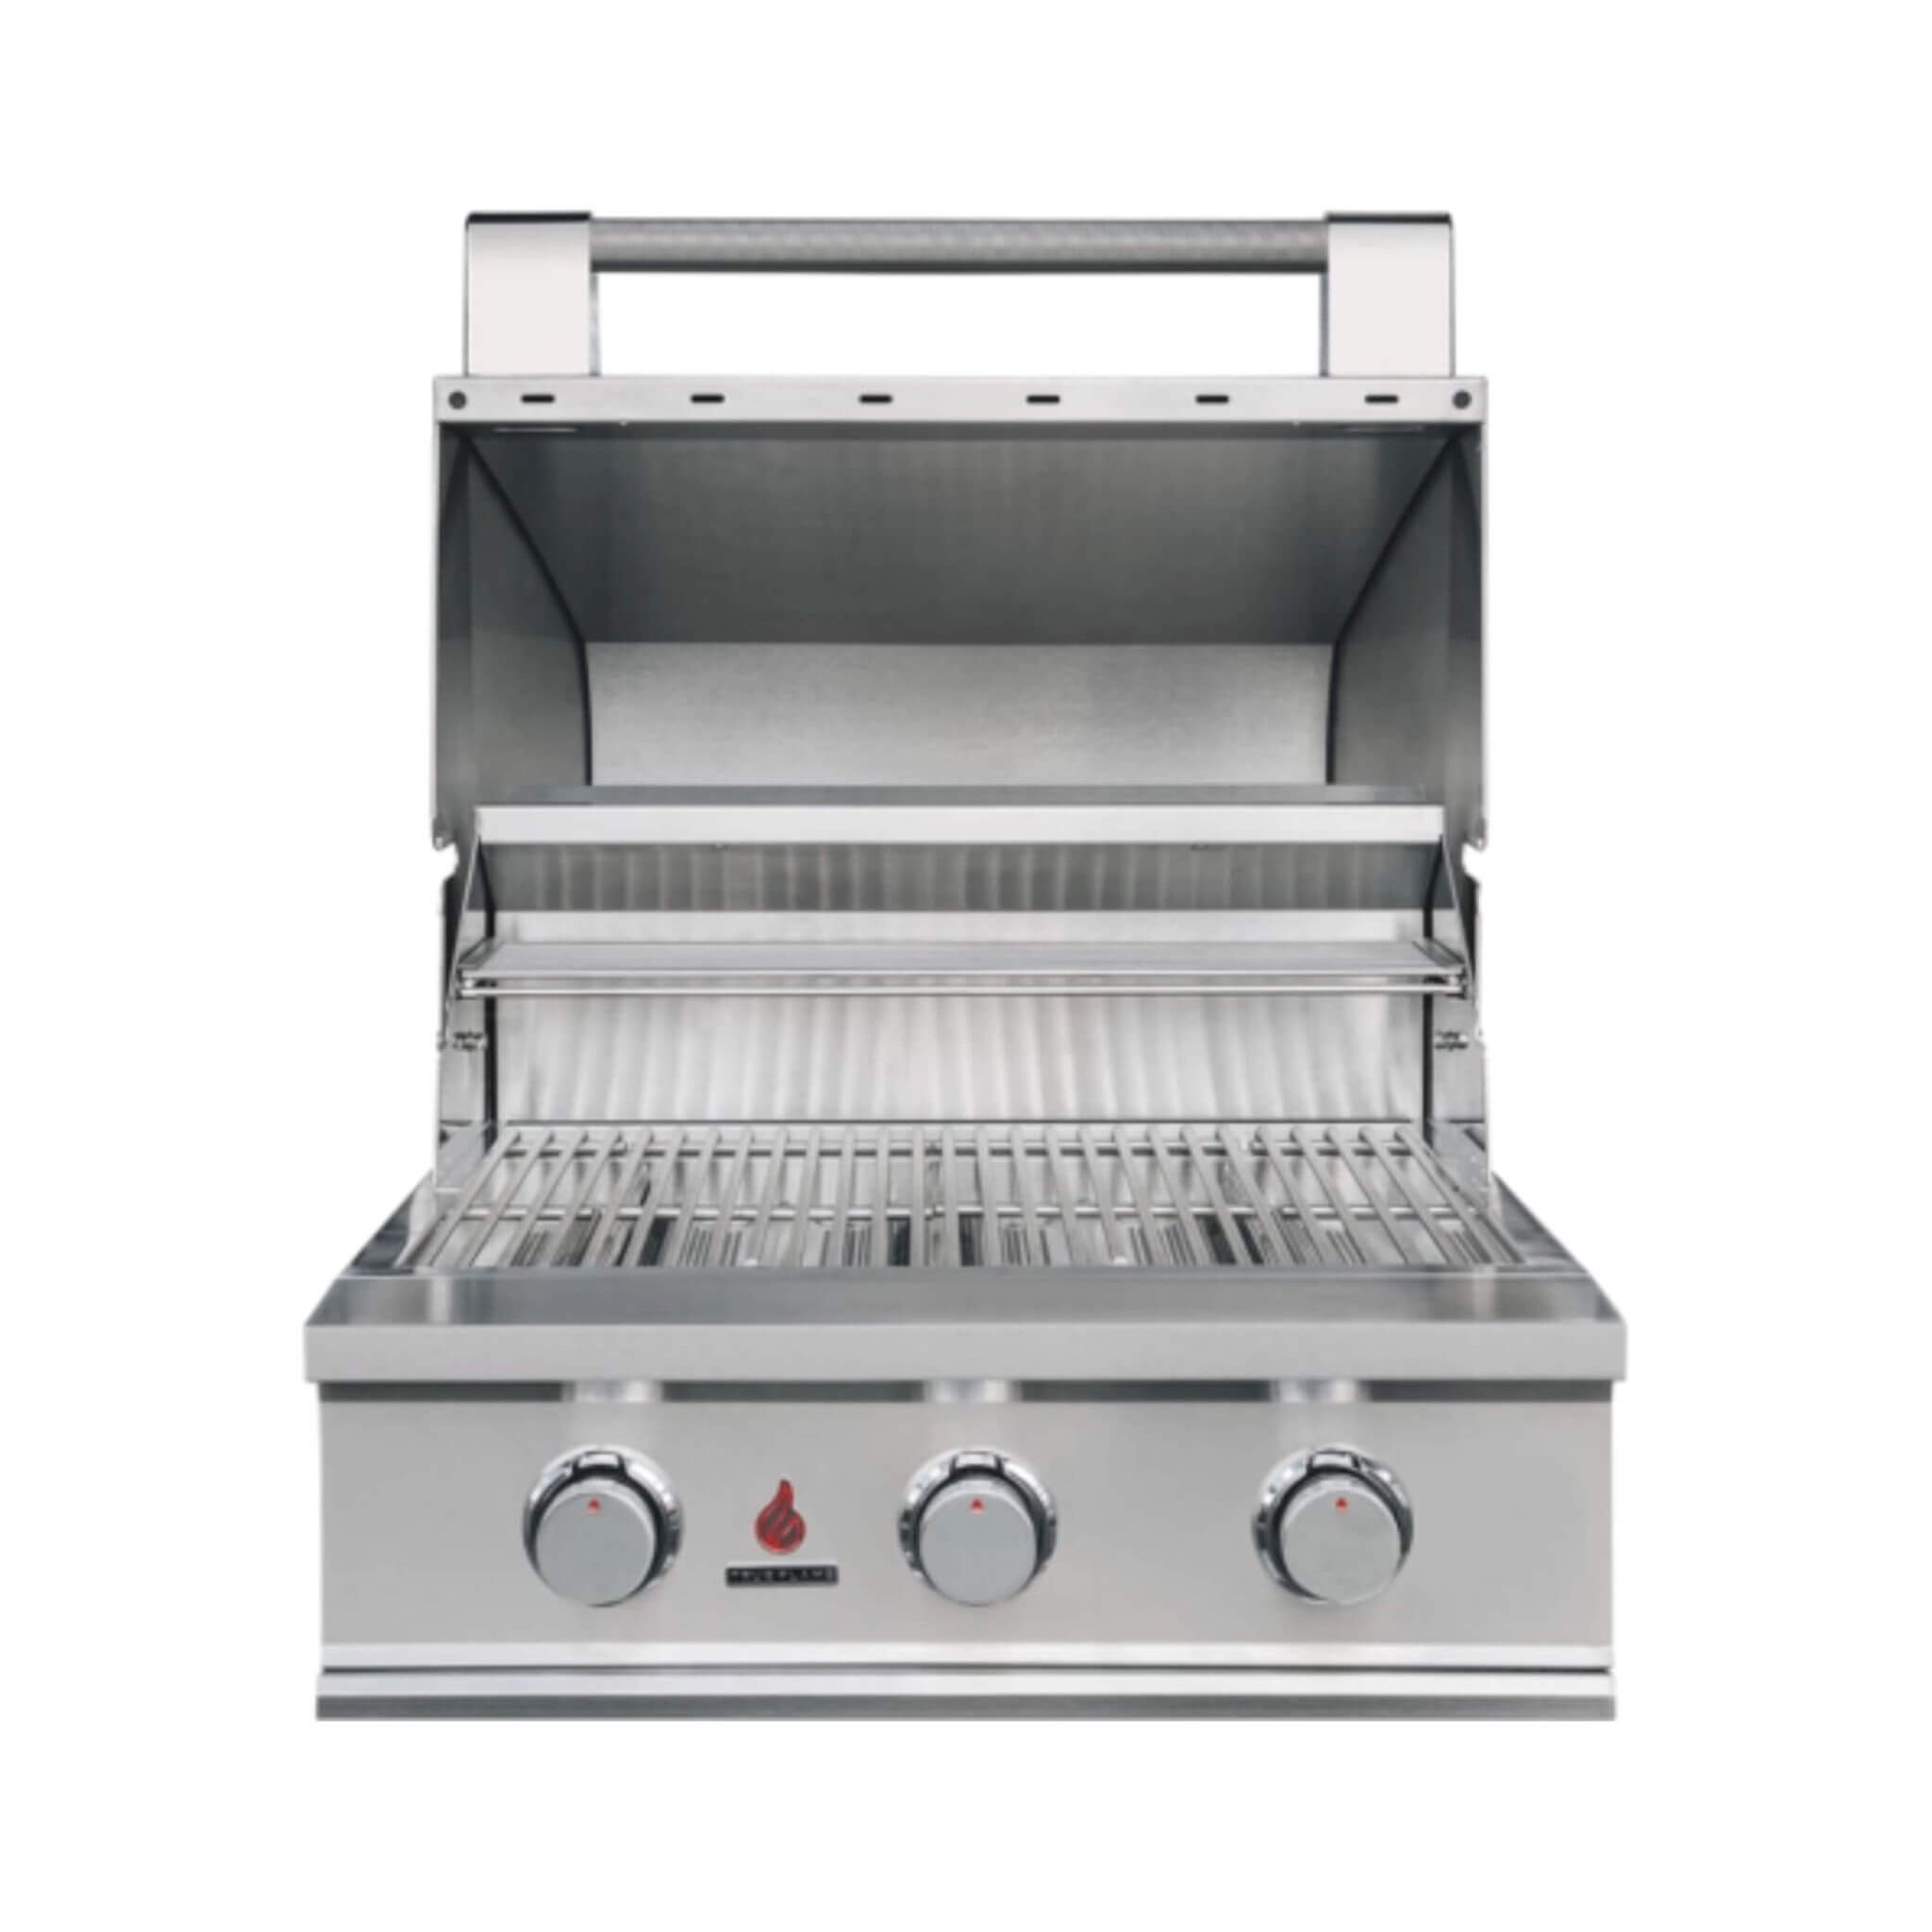
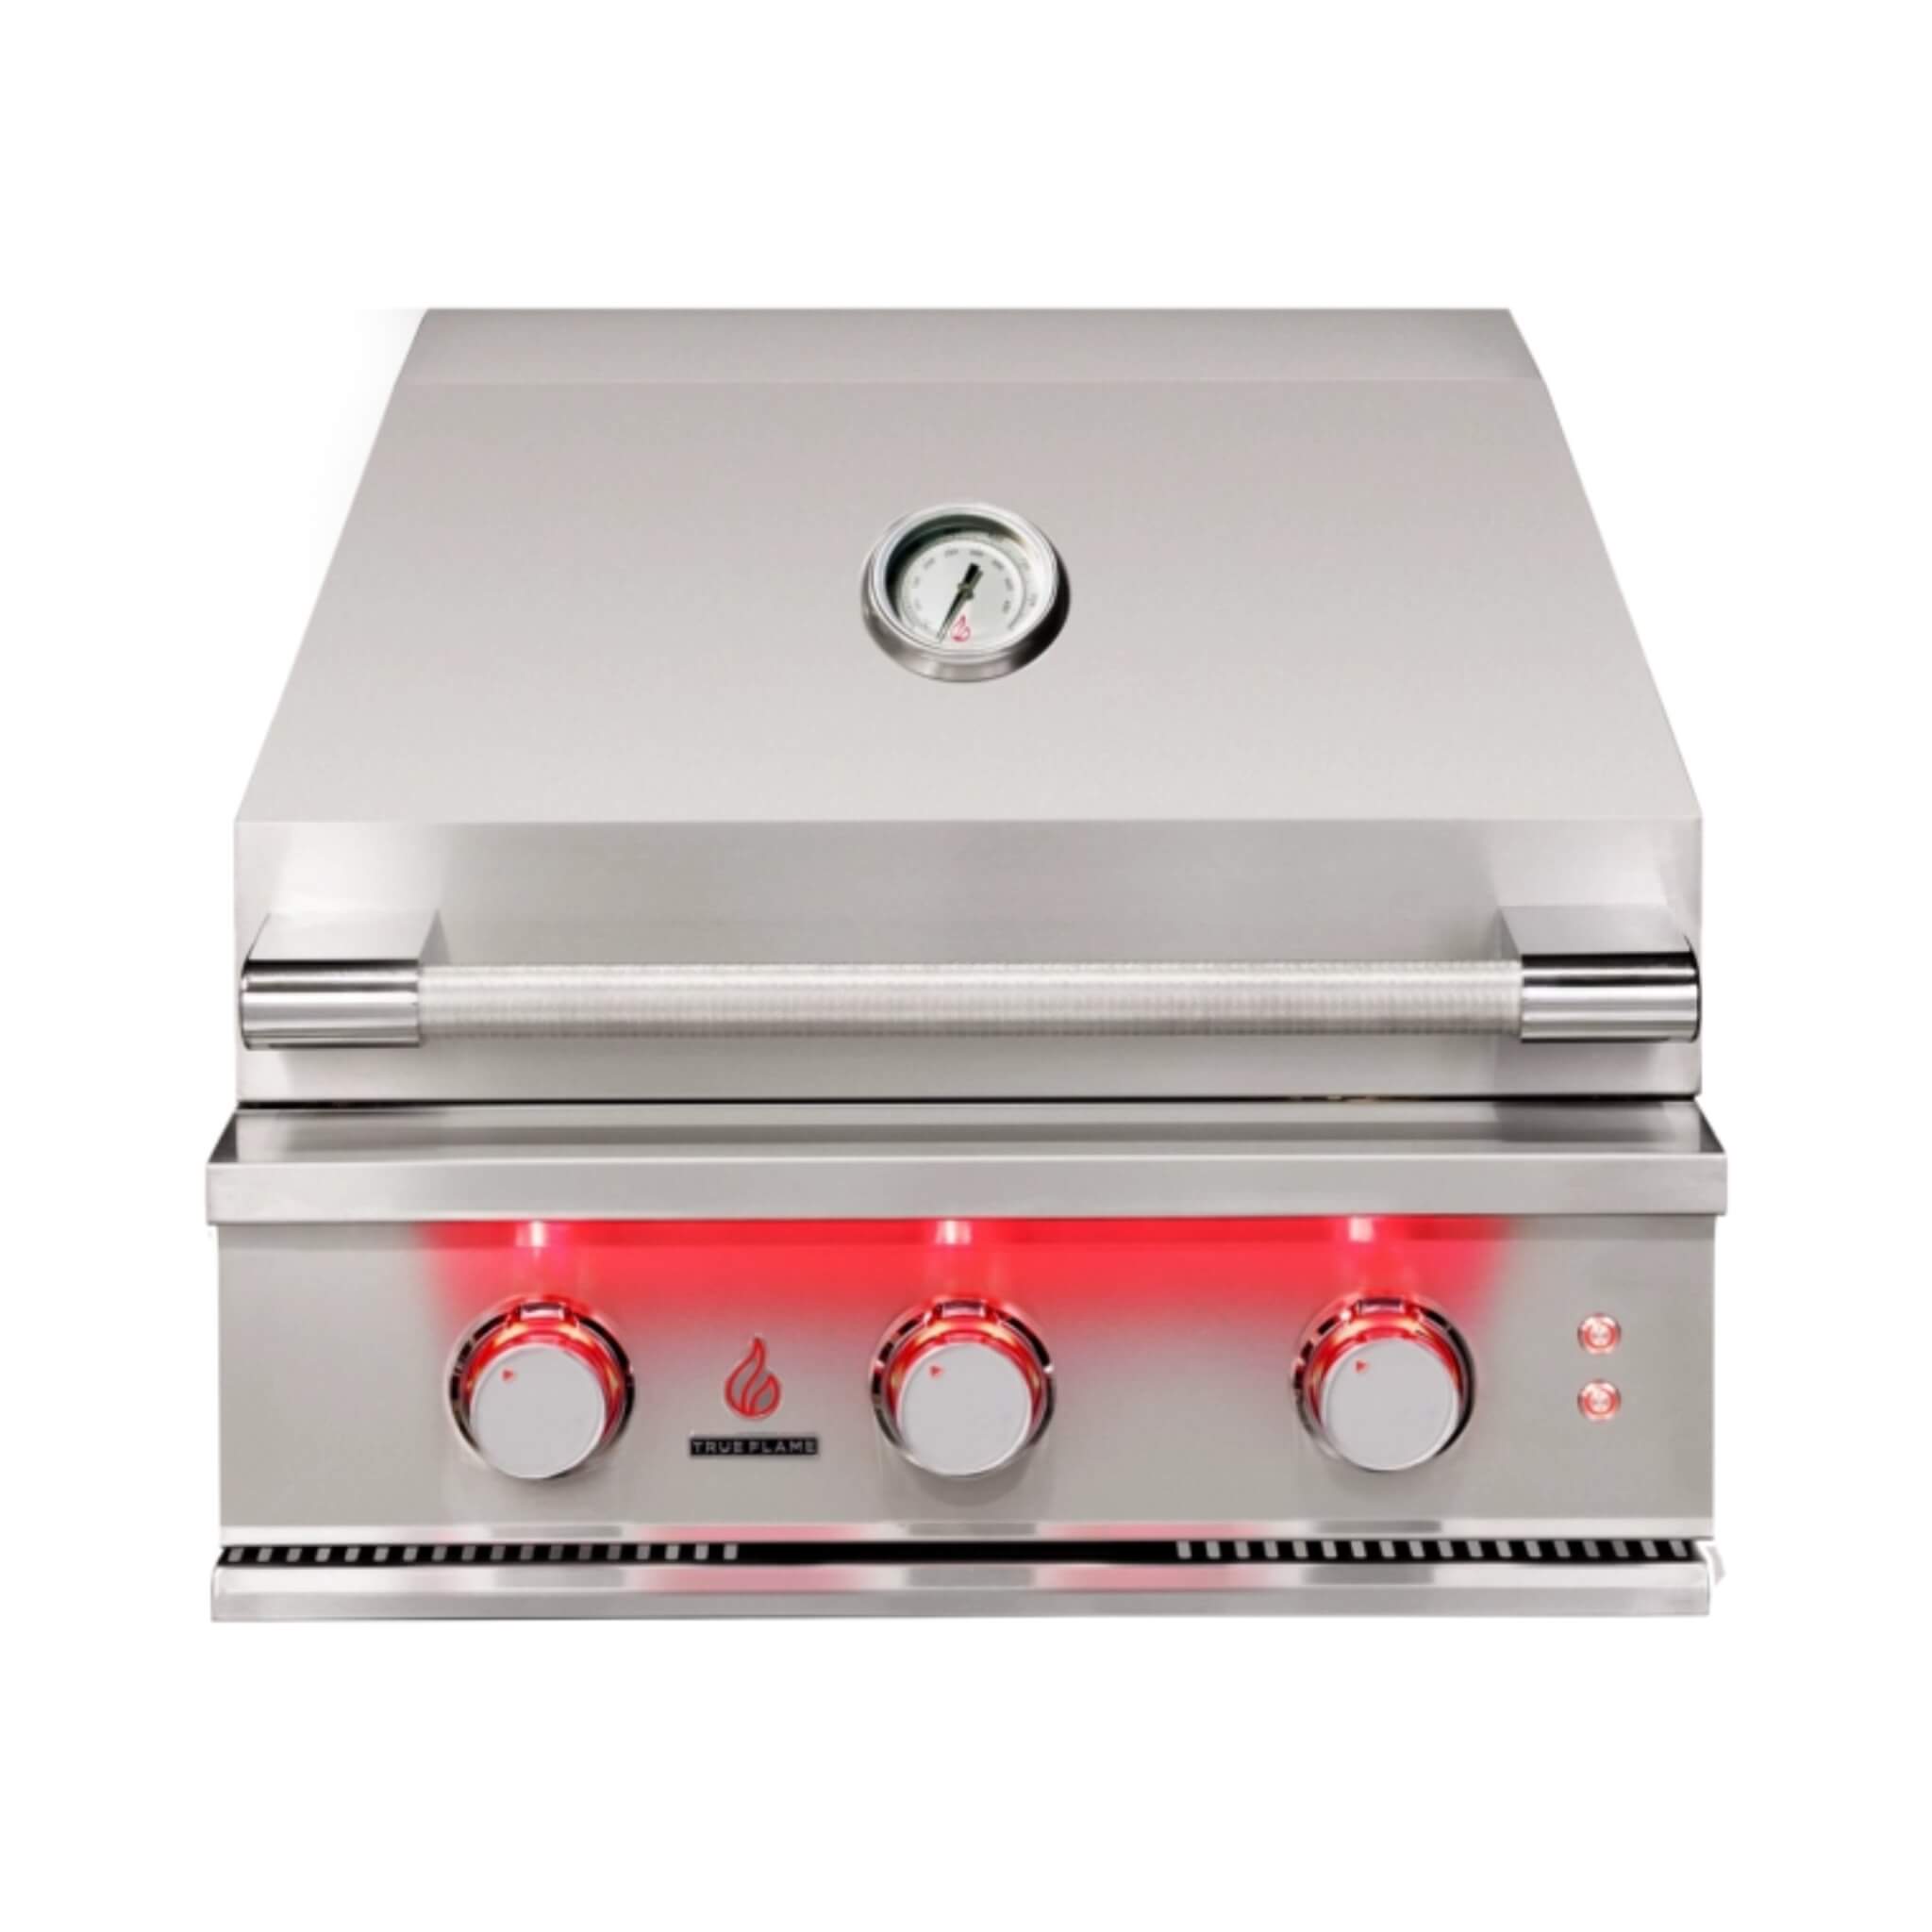
Model matters here. Owners of the TrueFlame E-Series built-in gas grill can check burner specs and replacement parts on the product page. The Summerset TRL Pro built-in grill with rear infrared burner page offers burner-specific care details.
How to Clean a Gas Grill With Vinegar
A vinegar solution is the safest routine cleaner for most grill surfaces. Mix equal parts white vinegar and water in a spray bottle. Spray warm grates and interior surfaces, let it sit five minutes, then scrub and rinse. Vinegar cuts light grease and mineral film without harsh fumes. For heavy carbonized residue, follow with a degreaser. Never mix vinegar with bleach, and rinse thoroughly before the next cook.
How Often to Clean a Gas Grill by Component
A cleaning schedule is only useful if it maps to how you actually cook. The cadence below is a baseline for a grill used two to three times a week; scale intervals down for heavy use and up for occasional weekend cooking. The unique angle here is tying each interval to a specific failure it prevents, so the schedule doubles as a maintenance plan rather than a chore list.
| Component | Frequency | Time Needed | What It Prevents |
|---|---|---|---|
| Cooking grates | After every cook | 5 minutes | Stuck food, rust, off-flavors |
| Grease tray and drip pan | Every 2-3 cooks | 10 minutes | Grease fires, flare-ups |
| Heat plates and flavorizer bars | Monthly | 20 minutes | Hot spots, uneven heat |
| Burners and burner ports | Every 2-3 months | 30 minutes | Weak or uneven flames |
| Firebox deep clean | Twice a season | 45 minutes | Corrosion, hardened grease |
| Full seasonal cleaning | Start and end of season | 1-2 hours | Off-season rust, spring surprises |
| Gas connections and leak check | Monthly and after any disassembly | 5 minutes | Gas leaks |
After Every Cook
Brush the grates while they are still warm, then close the lid and let the grill burn off residue for a few minutes. Empty the grease tray before it fills past halfway, a full tray is the most common cause of flare-ups and grease fires. This is the five-minute habit that makes every deeper cleaning easier.
Monthly
Pull the heat plates and scrape both sides, then wipe the firebox walls. Do the soapy-water leak check on the hose and fittings while you are in there. Monthly is also the right time to inspect your grill brush for loose bristles and replace it at the first sign of wear.
Every Two to Three Months
Remove and clean the burners and ports, then verify the flame pattern zone by zone. If one zone runs cold or the flame is yellow and lazy after cleaning, diagnose it now rather than at the start of a cook. This interval is where most uneven-heat problems get caught early.
Seasonal
At the start of the season, do a full clean and a leak check before the first cook. At the end of the season, clean the firebox so grease does not harden over the cold months, shut off the gas, disconnect the tank, and store propane outdoors and upright.
Watch out: A schedule that ignores heavy use is the most common maintenance mistake, a grill run three nights a week needs the grease tray emptied more often than the table suggests, and skipping it is how grease fires start.
Diagnosing Burner Problems and Uneven Heat
Uneven heat usually traces to clogged burner ports, a misaligned heat plate, or a failing ignition system. Watch the flame pattern: a healthy burner shows a steady blue flame with slight yellow tips. Weak, sputtering, or lopsided flames point to a blocked port or a gas supply issue. If one zone runs cold, check that the heat zone separator sits correctly. On grills with multiple burners, like the TrueFlame luxury built-in gas grills, each zone should light and hold temperature independently. Persistent problems after cleaning may mean a worn burner tube, which is a replacement part, not a cleaning fix.
Safe Brush Alternatives and Wire-Bristle Risk
Wire bristles can break off and end up in food, which is a real ingestion hazard. The CDC warning on wire-bristle grill brushes explains the risk and the symptoms to watch for. Safer options include:
- Coil brushes with no loose bristles
- Nylon brushes for warm, not hot, grates
- Wooden scrapers and grill stones
- Half an onion rubbed on hot grates as a light cleaner
Inspect any brush before use and replace it at the first sign of loose bristles.
Protecting Your Grill Between Cooks and Through Winter
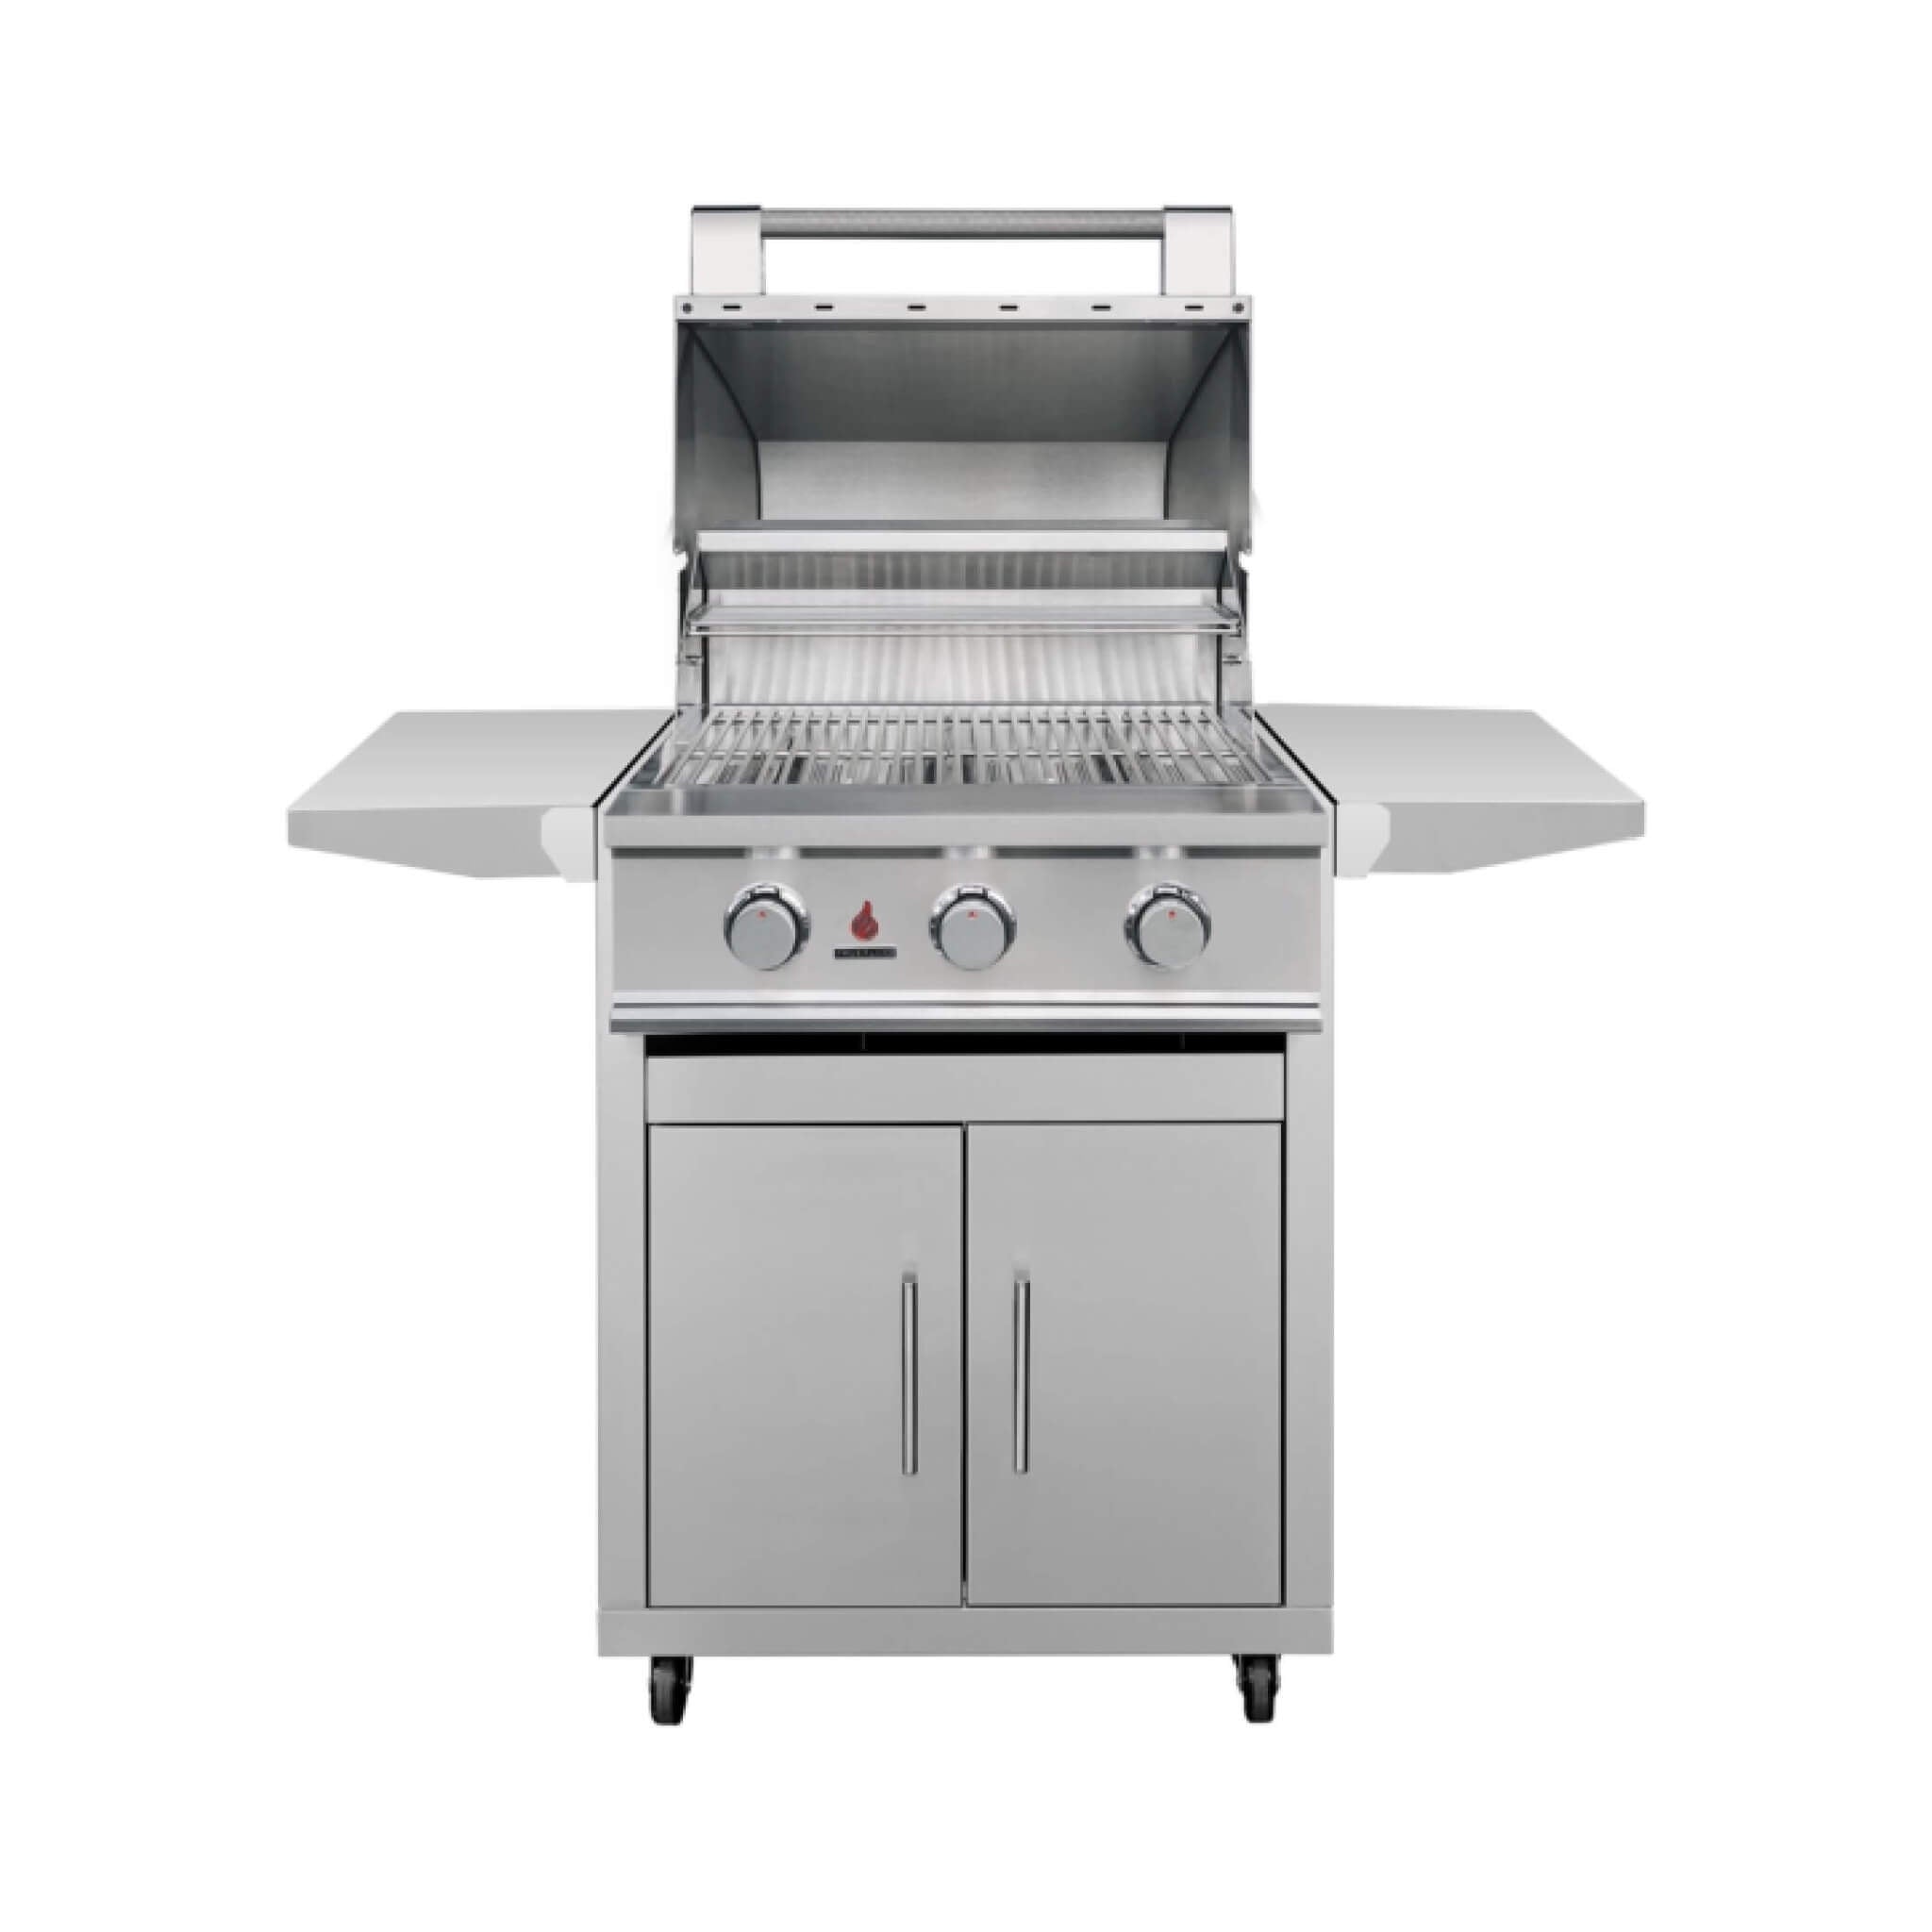
Cover the grill once it cools completely. If you keep a freestanding model outside year-round, the TrueFlame E-Series freestanding grill with cart page shows the cart and cover setup for storage. For warm-climate upkeep, our guide to outdoor kitchen appliances for hot weather covers heat-related care in more detail.
A grill that gets cleaned on schedule simply performs better, and that is the whole point of learning how to clean and maintain outdoor gas grills. If your current grill has seen better days, Oasis Patio Direct carries premium options built to last: weather-resistant #304 stainless steel, precise heat zone control, and a 30-day risk-free trial with free shipping on orders over $100.
Frequently Asked Questions
What is the best way to clean an outdoor gas grill?
Work from the inside out. Shut off the gas, disconnect the propane tank, and let the grill cool completely. Scrape the cooking grates, then remove heat plates, flame tamers, and the grease tray. Scrub the firebox with warm soapy water, clear the burner ports with a pin, and rinse the drip pan. Finish by wiping the stainless steel exterior with a non-lint cloth.
How often should you clean a gas grill?
Scrape the grates after every cook and empty the grease tray weekly during heavy use. Deep clean the firebox, burners, and heat plates every 15 to 20 cooks, or roughly once a month in summer. Do a full seasonal cleaning at the start and end of grilling season, including a leak check on the gas connections. Grills used less often still need a deep clean every two to three months to prevent grease buildup and rust.
Can you clean a gas grill with vinegar and baking soda?
Yes, for grates and exterior stainless steel. A 50/50 white vinegar and water solution cuts light grease, and a paste of baking soda and water lifts stuck-on food from cast iron and porcelain-coated grates. Avoid soaking burners or the firebox in vinegar, and never let vinegar sit on stainless steel for long, because the acid can dull the finish. Rinse and dry every surface thoroughly after using a vinegar solution.
Is it okay to grill on rusted grates?
Light surface rust on cast iron or stainless steel grates can be scrubbed off with a brush and warm soapy water, then the grates reseasoned with oil and heated. Deep pitting or flaking rust means the grates need replacing, since rust compromises the surface and affects even heat. After cleaning, coat grates lightly with cooking oil before storing to slow rust. A grill cover and a dry storage spot are the best prevention.